この記事はWordPressローカル環境構築の続きです。
設定
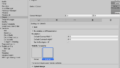
コマンドプロンプトから実行します。
package.jsonの生成
npm init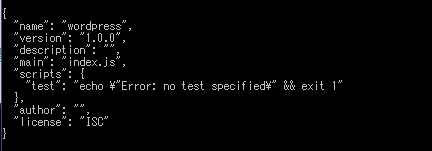
設定項目を入力して(飛ばす事も出来ます)「Enter」
wp-envのセットアップ
npm i @wordpress/env --save-dev操作方法
実行するディレクトリを選択する
コマンドプロンプト内で以下の様に入力する事で生成先のディレクトリを選択できます。
cd ディレクトリ名wp-envを開始する
wp-env startwp-envを終了する
wp-env stopブロックチュートリアル
※既に実行している(別のディレクトリから実行した)localhost:8000等、汎用WordPress環境を一度停止します。

Tutorial: Build your first block – Block Editor Handbook | Developer.WordPress.org
In this tutorial, you will build a "Copyright Date Block"—a basic yet practical block that displays the copyright symbol...
developer.wordpress.org
ディレクトリを選択後、以下をコマンドプロンプトで実行します。
npx @wordpress/create-block starter-block
cd starter-block
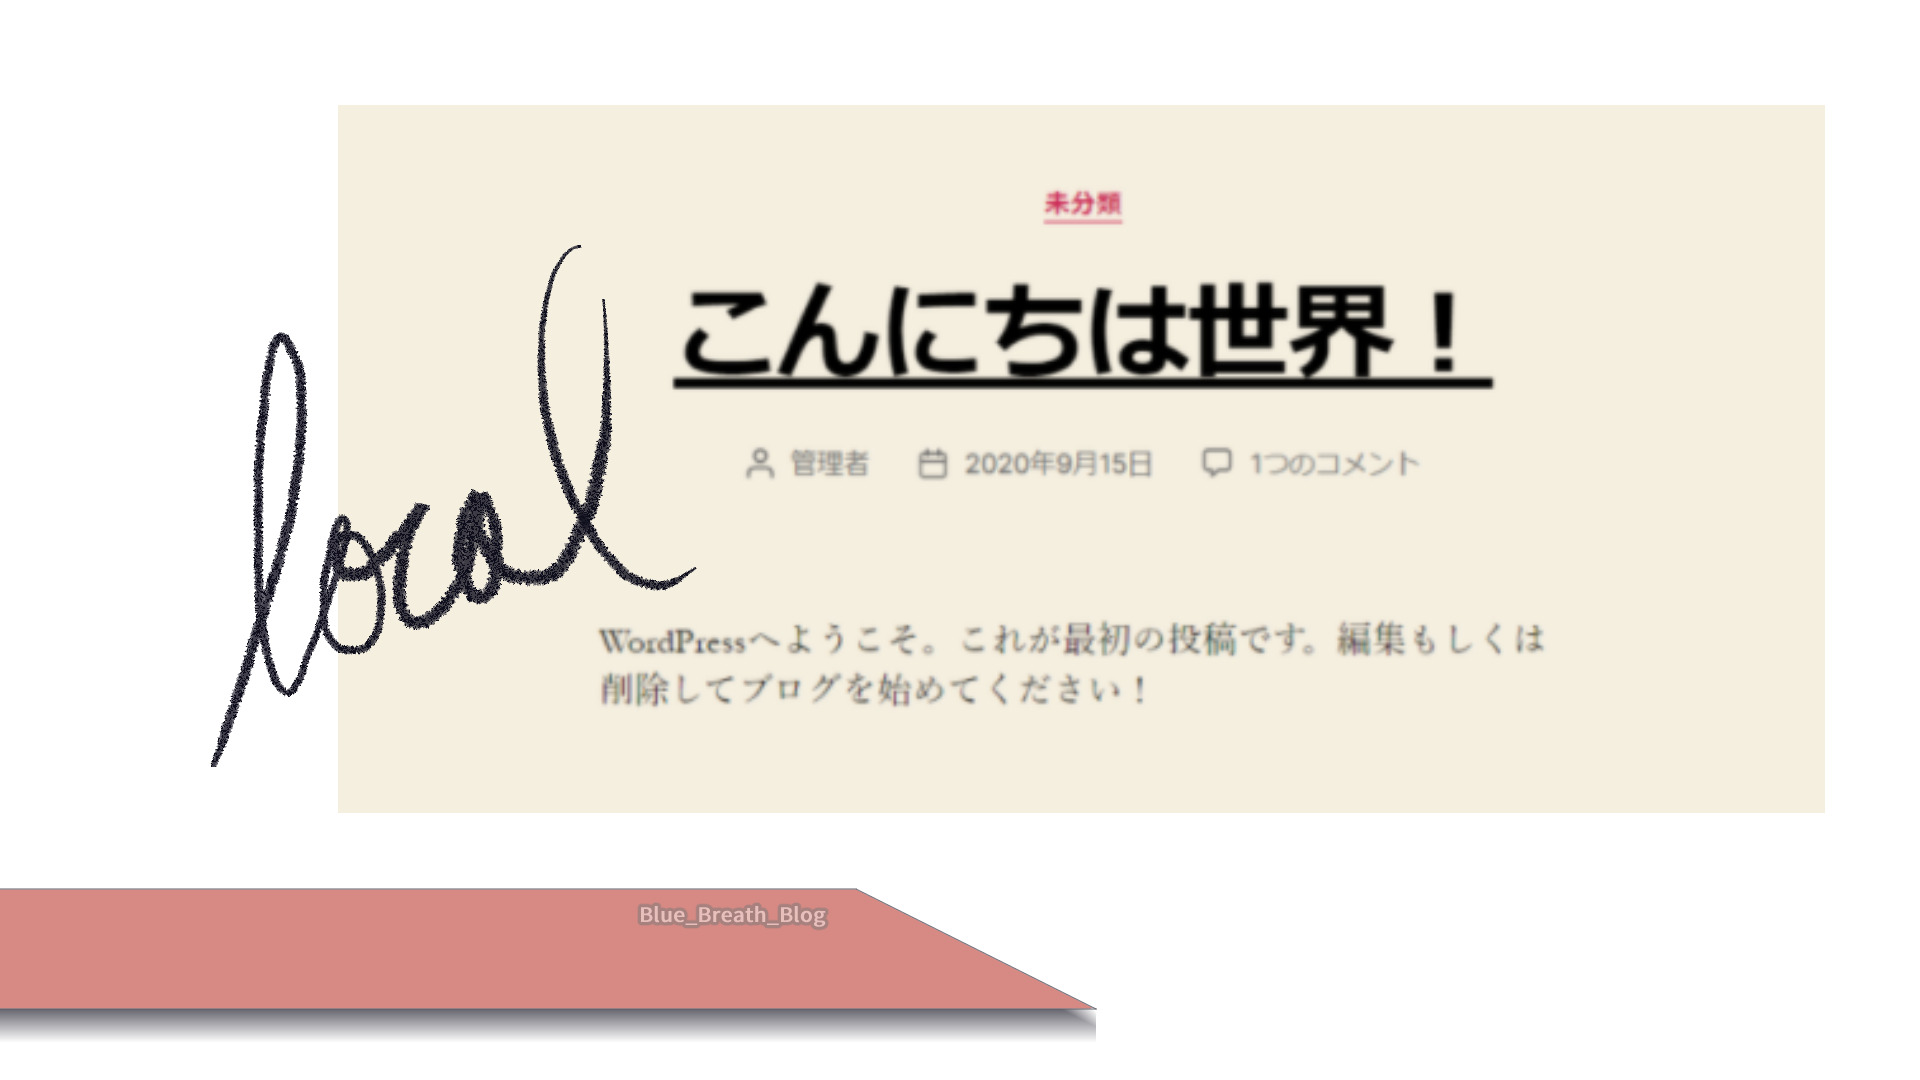
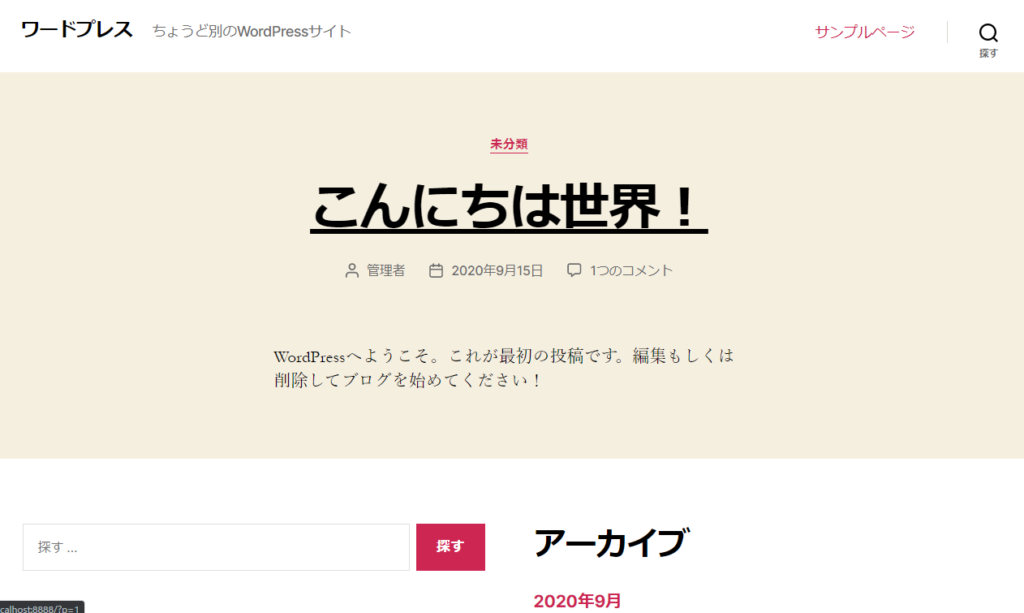
wp-env starthttp:// localhost:8888 /にアクセスするとローカルページが表示されます。
http://localhost:8888/wp-login.phpにアクセスしユーザー名とパスワードを入力します。
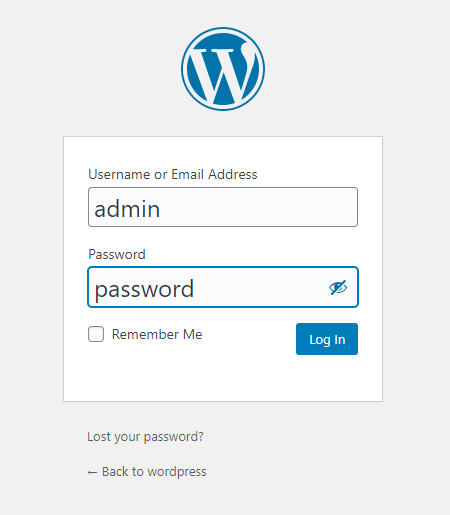
デフォルトでは
ユーザー名「admin」
パスワード「password」
です。
参考

@wordpress/env
wp-env を使用してプラグインやテーマのビルド用とテスト用の WordPress ローカル環境を…
ja.wordpress.org

gutenberg/packages at wp/5.4 ?? WordPress/gutenberg
The Block Editor project for WordPress and beyond. Plugin is available from the official repository. - WordPress/gutenbe...
github.com

共有コメント 共有されるコメント欄です。