Unity Text Mesh Proをスクリプトから扱うメモです。
表示する文字列を変更する
3通りの変更方法をScriptableObjectを絡めて紹介します。
- 文字一つ一つに分けたChar[]
- stringと変数をセット出来るSetText()
- (TextMeshPro.text)
SetCharArrayを使用して変更
文字配列char[]を事前に準備し、テキストを書き換える方法です。
TextObject(ScriptableObject)の作成
char[]を生成するTextObject(ScriptableObject)を作成します。
using UnityEngine;
namespace BlueBreath.Text
{
    [CreateAssetMenu(fileName="textObj",menuName="BlueBreath/text",order=0)]
    public class TextObject : ScriptableObject
    {
        [SerializeField]
        private string text;
        private bool loaded = false;
        private char[] charArr;
        public char[] CharArr
        {
            get{
                if(!loaded)Str2CharArr();
                return this.charArr;
            }
            private set{
                this.charArr = value;
                this.loaded = true;
            }
        }
        /// <summary>
        /// 使用開始時に一度だけ呼び出します
        /// 初期設定のtextをchar配列charArrに格納します
        /// </summary>
        public void Str2CharArr()
        {
            CharArr = text.ToCharArray();
        }
    }
}
「Project内任意のAssetフォルダ」右クリック>「Create」>「BlueBreath」>「text」からScriptableObjectを生成します。
(※CreateAssetMenuは任意に変更できます)

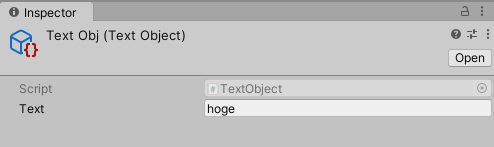
作成したText ObjectのTextを適当に変更します
TMPBehaviour(コンポーネント)の作成
次に作成したTextObject(ScriptableObject)を読み込み、TextMeshProへ反映させるスクリプトを作成します。
using UnityEngine;
using TMPro;
namespace BlueBreath.Text
{
    [RequireComponent(typeof(TextMeshProUGUI))]
    [HelpURL("https://hi-network.sakura.ne.jp/wp/2020/11/11/post-3299/")]
    public class TMPBehaviour : MonoBehaviour
    {
        public TextObject textObject;
        private TextMeshProUGUI textMeshPro;
        private void Awake()
        {
            if (!TryGetComponent(out textMeshPro))this.enabled = false;
        }
        private void Start() => SetCharArray_();
        public void SetCharArray_()
        {
            if(textObject != null && textMeshPro != null){
                textMeshPro.SetCharArray(textObject.CharArr);
            }else{
                Debug.Log("ぬるり");
            }
        }
    }
}
Canvas内にTextMeshProのオブジェクトを作成します。


TextMeshProと同じ場所に先程のスクリプトを取り付け、はじめに作成したScriptableObjectを設定します。

再生してテキストが書き換わることを確認します。
文章を保存したScriptableObjectを複数作成し取り換え更新を行う事で、追加更新が楽に行うことが出来ます。
MonoBehaviourスクリプトを変更しないので、コンパイル時間の短縮、予期していないエラーの回避に繋がります。
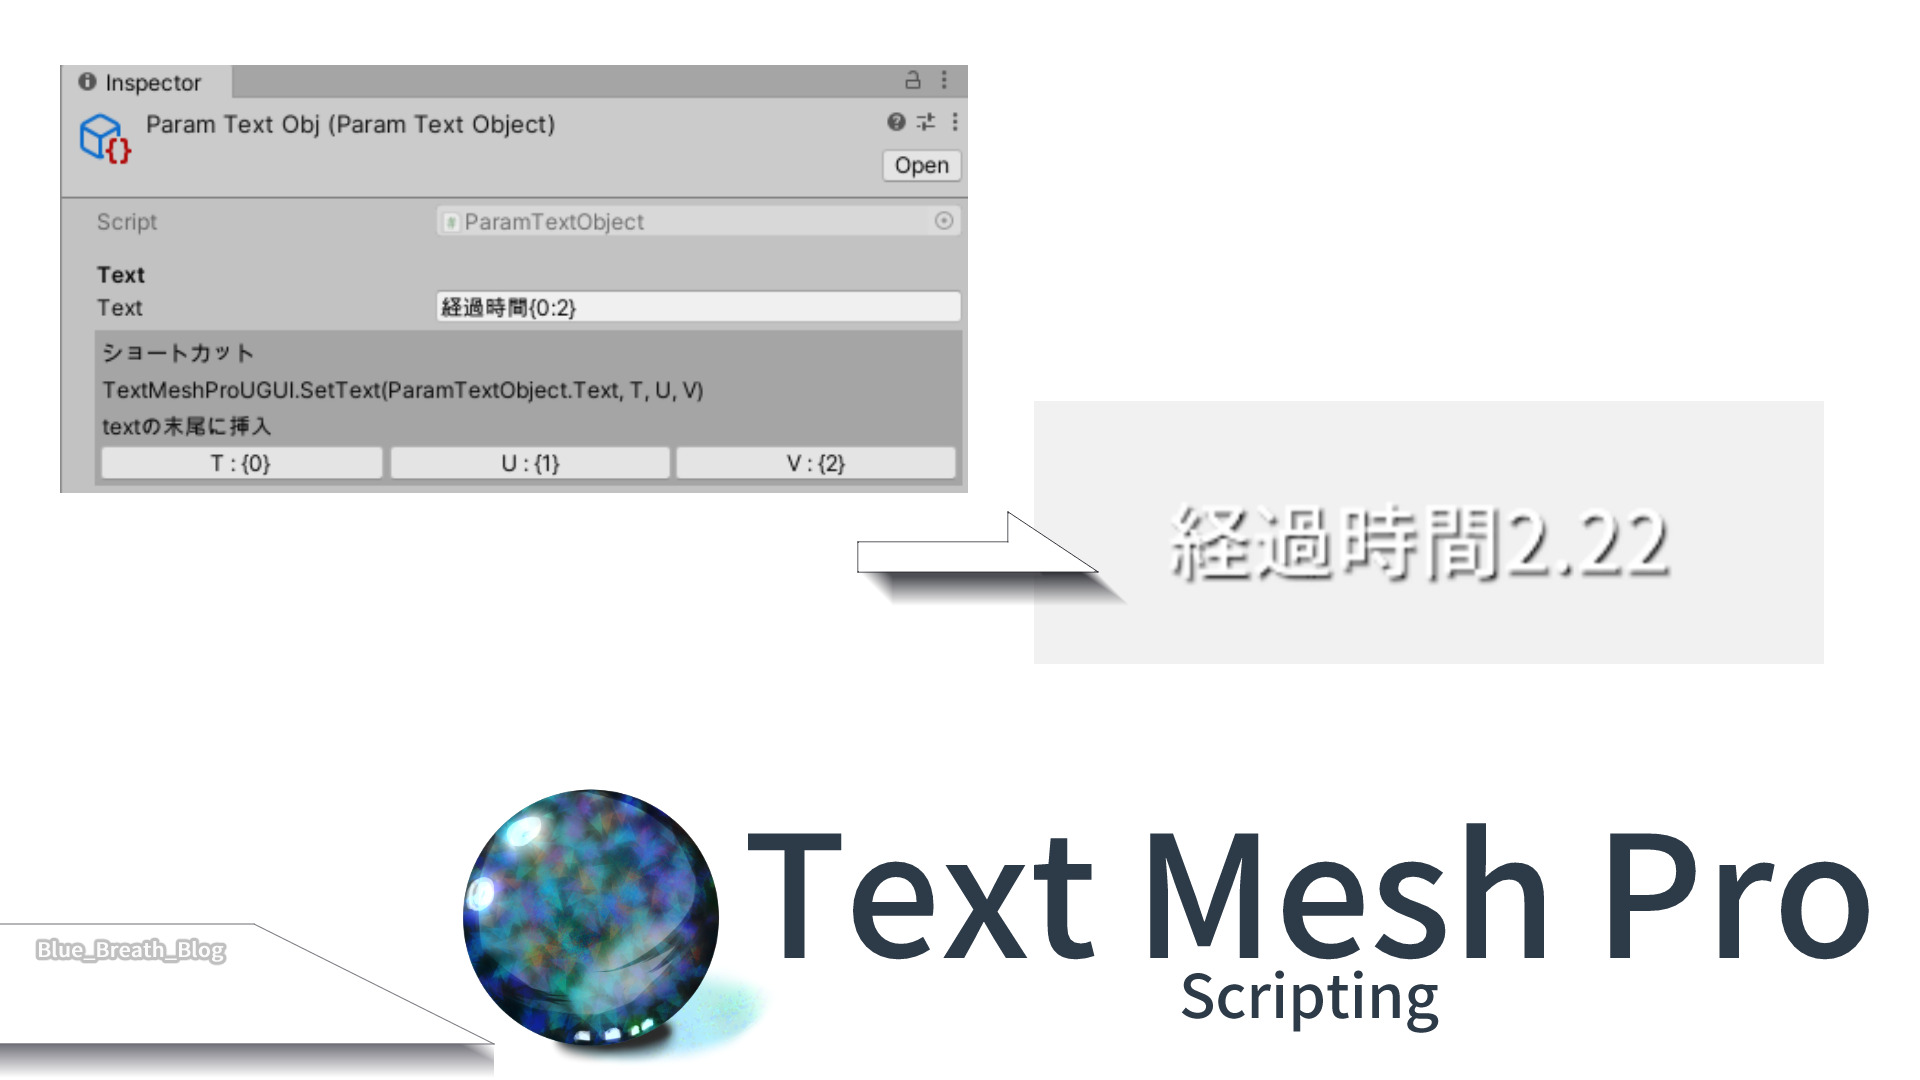
SetTextを使用して変更
文字列と変数を表示する場合に使用できます。(例は時間経過の表示をするものです。)
ParamTextObject(ScriptableObject)の作成
テキストを保存するScriptableObjectです。
using UnityEngine;
#if UNITY_EDITOR
using UnityEditor;
#endif
namespace BlueBreath.Text
{
[HelpURL("https://hi-network.sakura.ne.jp/wp/2020/11/11/post-3299/")]
[CreateAssetMenu(fileName="paramTextObj",menuName="BlueBreath/paramText",order=1)]
public class ParamTextObject : ScriptableObject
{
[Header("Text")]
[SerializeField]
private string text;
public string Text
{
get { return this.text; }
set { this.text = value; }
}
}
#if UNITY_EDITOR
[CustomEditor(typeof(ParamTextObject))]
public class ParamTextObjectEditor : Editor
{
public override void OnInspectorGUI()
{
ParamTextObject myTarget = (ParamTextObject)target;
DrawDefaultInspector();
EditorGUILayout.BeginVertical(GUI.skin.box);
EditorGUILayout.LabelField("ショートカット");
EditorGUILayout.LabelField("TextMeshProUGUI.SetText(ParamTextObject.Text, T, U, V)");
EditorGUILayout.LabelField("textの末尾に挿入");
EditorGUILayout.BeginHorizontal();
if(GUILayout.Button("T : {0}"))
{
myTarget.Text += "{0}";
}
if(GUILayout.Button("U : {1}"))
{
myTarget.Text += "{1}";
}
if(GUILayout.Button("V : {2}"))
{
myTarget.Text += "{2}";
}
EditorGUILayout.EndHorizontal();
EditorGUILayout.EndVertical();
}
}
#endif
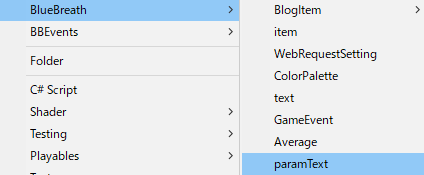
}「Project内任意のAssetフォルダ」右クリック>「Create」>「BlueBreath」>「paramText」からScriptableObjectを生成します。
(※CreateAssetMenuは任意に変更できます)
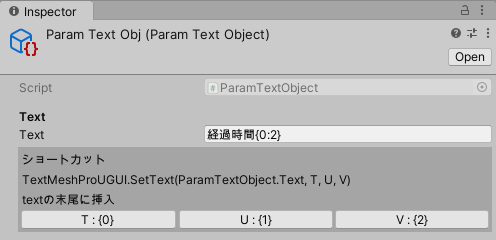
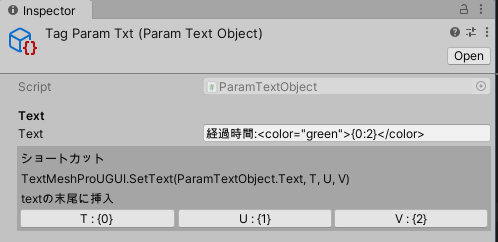
Text内に数値用の書式を含む文章を作成します。(ショートカットはText末尾に変数を挿入するもの)
{0},{1},{2}はSetTextの引数に対応しています。{0:2}は一つ目の引数を小数点2桁まで表示します。
TMPParameter (サンプルコンポーネント)の作成
using UnityEngine;
using TMPro;
namespace BlueBreath.Text
{
    public class TMPParameter : MonoBehaviour
    {
        public ParamTextObject textObject;
        private TextMeshProUGUI textMeshPro;
        private float time = .0f;
        private void Awake()
        {
            if (!TryGetComponent(out textMeshPro))this.enabled = false;
        }

        // Update is called once per frame
        void Update()
        {
            time += Time.deltaTime;
            textMeshPro.SetText(textObject.Text, time);
        }
    }
}
TextMeshProと同じ場所に先程のスクリプトを取り付け、作成したScriptableObjectを設定します。
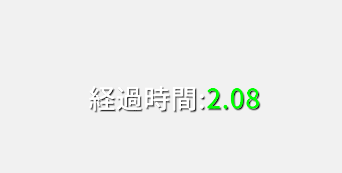
再生するとパラメータ付きテキストが表示されます。
TextMeshPro.textを使用して変更
APIから引用しました。(GCを気にする場合や、テキストの変更を多用する場合は使用を控えます。)
using UnityEngine;
using System.Collections;
using TMPro;

public class ExampleClass : MonoBehaviour
{
    void Awake()
    {
        TextMeshPro textmeshPro = GetComponent<TextMeshPro>();
        textmeshPro.text = "Example of text to be displayed.";
    }
}
表示している文字列の見た目を変更
色を変更する
using UnityEngine;
using System.Collections;
using TMPro;

public class ExampleClass : MonoBehaviour
{
    void Awake()
    {
        TextMeshPro textmeshPro = GetComponent<TextMeshPro>();
        textmeshPro.faceColor = new Color32(255, 128, 0, 255);
    }
}
その他
不安になったのでGC調べます。
コード
using UnityEngine;
using TMPro;
using UnityEngine.Profiling;
namespace BlueBreath.Text
{
    public class TMPParameter : MonoBehaviour
    {
        CustomSampler sampler0, sampler1, sampler2;
        public ParamTextObject textObject;
        private TextMeshProUGUI textMeshPro;
        private float time = .0f;
        private void Awake()
        {
            if (!TryGetComponent(out textMeshPro))this.enabled = false;
            sampler0 = CustomSampler.Create("TMP SetText Sampler (Scriptable)");
            sampler1 = CustomSampler.Create("TMP text Sampler");
            sampler2 = CustomSampler.Create("TMP SetText Sampler");
        }

        // Update is called once per frame
        void Update()
        {
            time += Time.deltaTime;
            //0 ScriptableObjectを介したもの
            sampler0.Begin();
            textMeshPro.SetText(textObject.Text, time);
            sampler0.End();
            //1 textを直接変更したもの
            sampler1.Begin();
            textMeshPro.text = "経過時間" + time;
            sampler1.End();
            //2 ベタ書きのSetTextを使用したもの
            sampler2.Begin();
            textMeshPro.SetText("経過時間{0:2}", time);
            sampler2.End();
        }
    }
}
結果
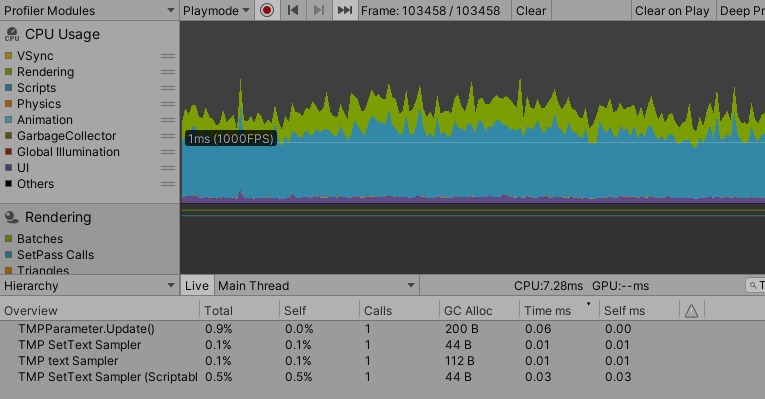
| Sampler | GC |
| 2-SetText | 44B |
| 1-text | 112B |
| 0-SetText(Scriptable) | 44B |
Text Mesh Pro関連記事
Text Mesh Proで日本語フォントを使用する
日本語の表示に対応する記事です。

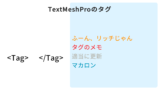
Text Mesh Proのタグ一覧
Text Mesh Proのテキスト内に表示できるタグ一覧です。
時間計測と書式指定のサンプル
SetTextを使用した例です。


コメント